

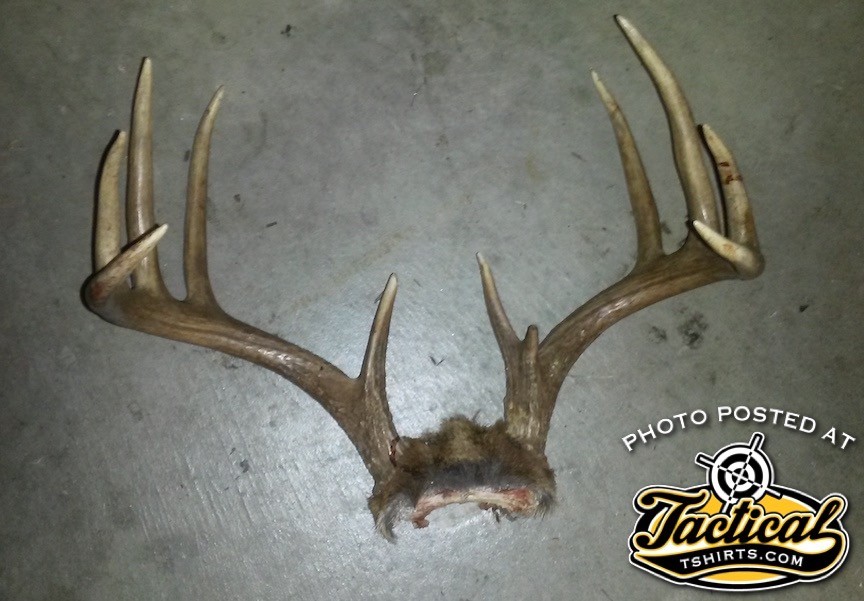
This past deer season Marky and I were hunting a friend’s private farm in Indiana. While we were both lucky enough to fill our buck tags, I happened to get a pretty nice 11 pointer. Nothing that I would actually send off to the taxidermist for a head mount but pretty nice. I usually just cut the skull cap off the deer and toss the rack in a box that I have in the garage, but I have been talking about doing a European skull mount using a product put out by a company called Mountain Mikes Reproductions. I have been looking at their product online and decided to jump on it and give it a try.
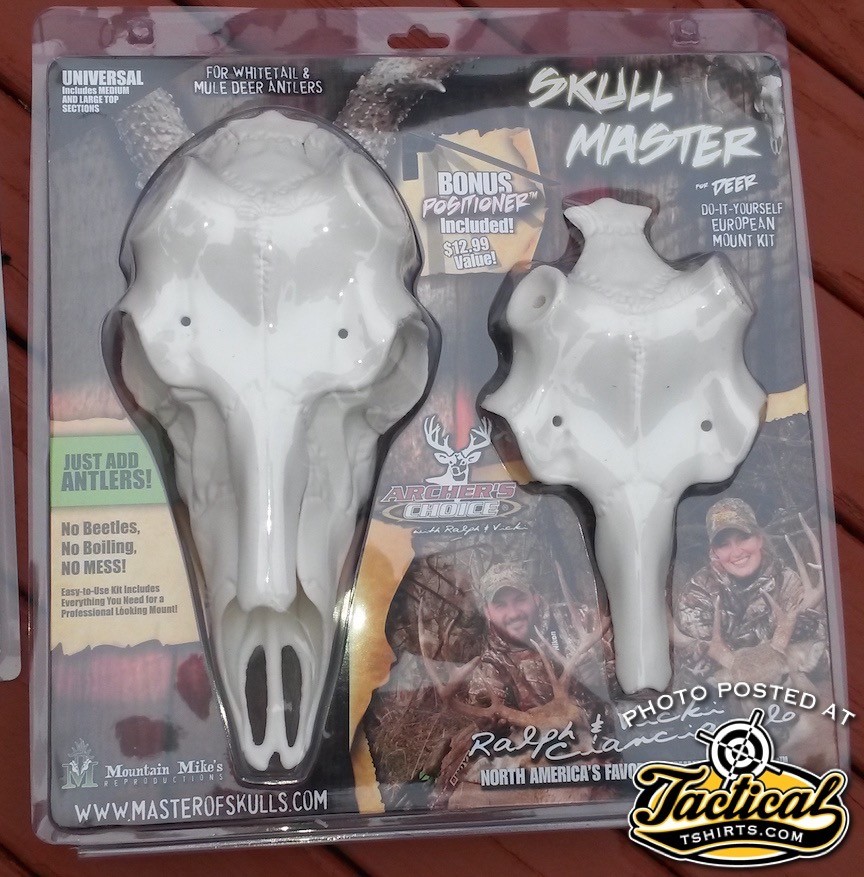
Traditionally, a European skull mount, while not really hard is very time consuming, messy and a general pain in the butt. It involves fleshing out the skull and boiling it clean. Once that is don’t you dress it up a bit and decide how you want to hang it. The Mountain Mike’s Skull Master Kit takes all that away.
As usual, while I was skinning out the deer (I do my own processing) I cut the skull cap off of the deer.
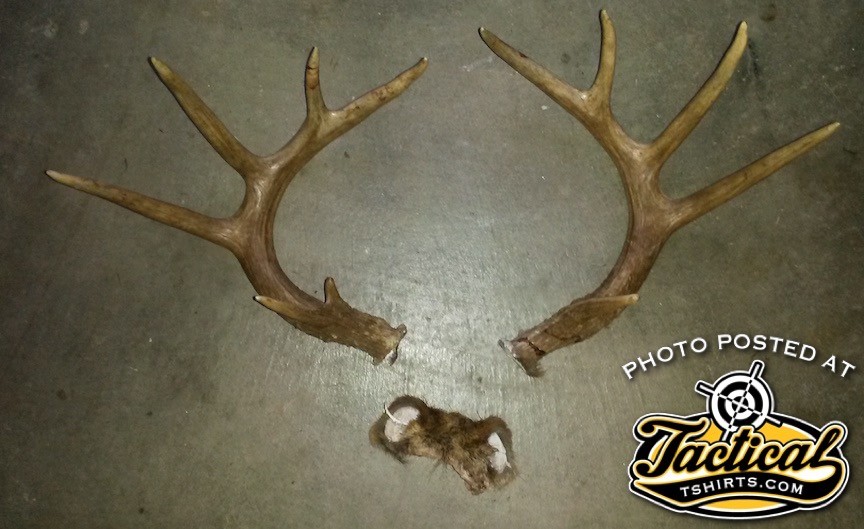
Once off the deer I had to remove the horns from the skull cap. This is where the Mountain Mike Skull Master Kit makes doing a european mount easy. The Kit comes with a plastic skull that is in two pieces. The main base and 2 top plate.

They supply you with 2 top plates for a better fit depending on the diameter of you rack. Use the small top plate for smaller racks and the large plate for the bigger racks. Its well thought out and works for pretty much any deer.
My only real complaint is I purchased the basic kit (msrp $39.99) and it comes molded in white and frankly, it looks like white plastic. They do sell other kits that are hydro-dipped in camouflage for an extra 20 bucks or so. But I’m a fan of spray paint so I pulled out a can of white and gave it a couple of coats.


Once dried I decided they were too shiny so I hit it with a couple of coats of matt clear to dull it down. It produced the look I was going after. Once the paint was dry and I liked the look, it was a pretty simple matter of assembly. I lined the racks up with the plate and drilled screw holes; so I could attach the racks and then attached the plate to the base with 2 more screws. It’s that simple and it looks damn good.
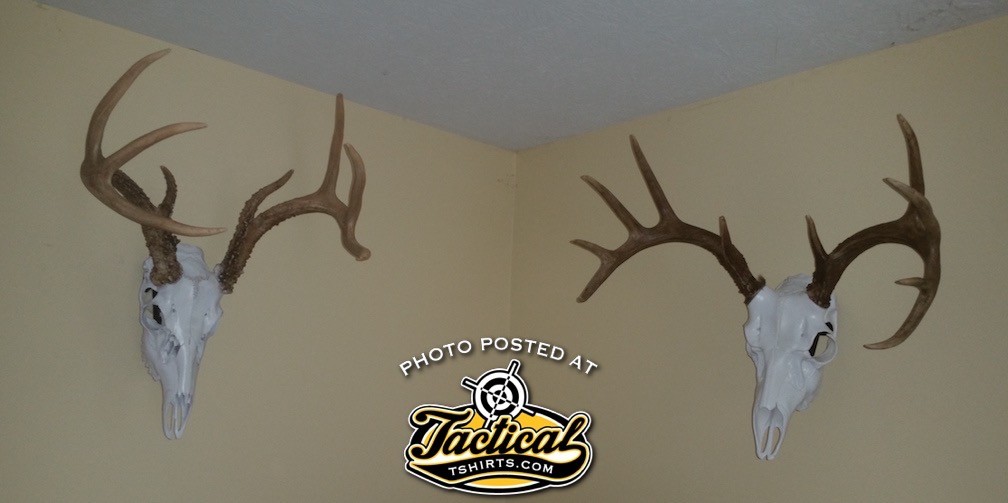
If you are on a budget or you don’t want to spend big bucks on the taxidermist to mount a small rack, this is a great way to display your trophy at an affordable price. Under $50.00, and you have a nice mount that is easy to do and does not have the mess of a traditional DIY European skull mount.
Freeze
www.tacticaltshirts.com
www.john1911.com
“Shooting Guns & Having Fun”

Freeze is our resident All-American hunter, shooter, gunsmith and military surplus collector. When he is not processing his own game or running the smoker, he focuses on Com-Bloc weapons and Black Powder Shooting.
- POTD – Giraffe Bone Grips - April 28, 2022
- Piebald Deer Sighted - February 9, 2022
- Dan Wesson 10mm Bruin 1911 - November 24, 2021


