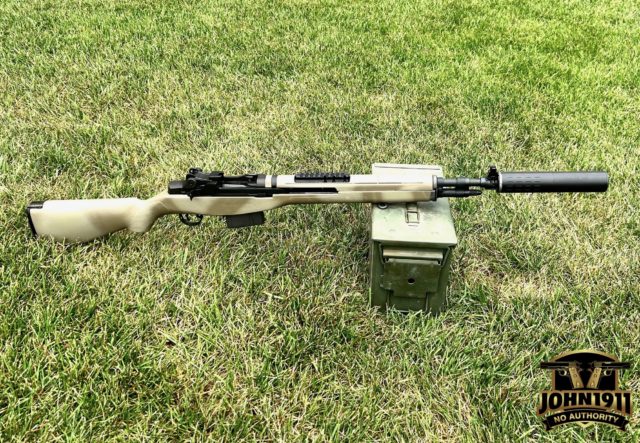
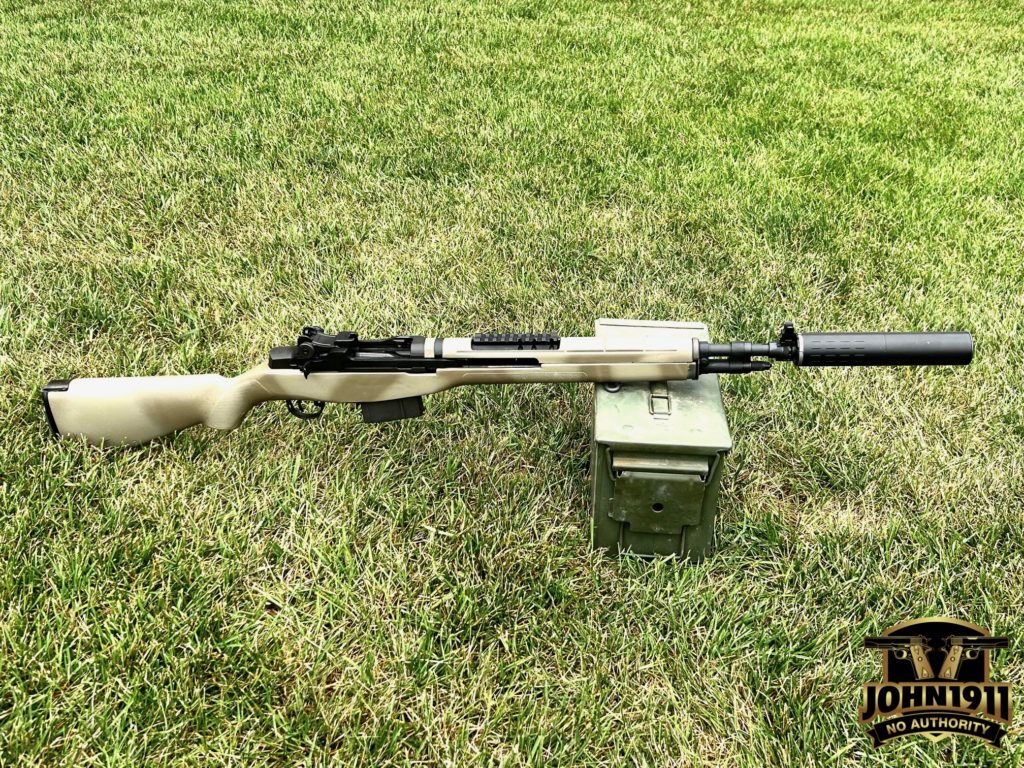
I recently picked up a used Springfield M1A Scout Squad and found a little time to mess with it. Per usual, I can’t help but modify most of the guns I buy and this was no different. For this rifle I decided I wanted to suppress it as well as do some cosmetic changes.
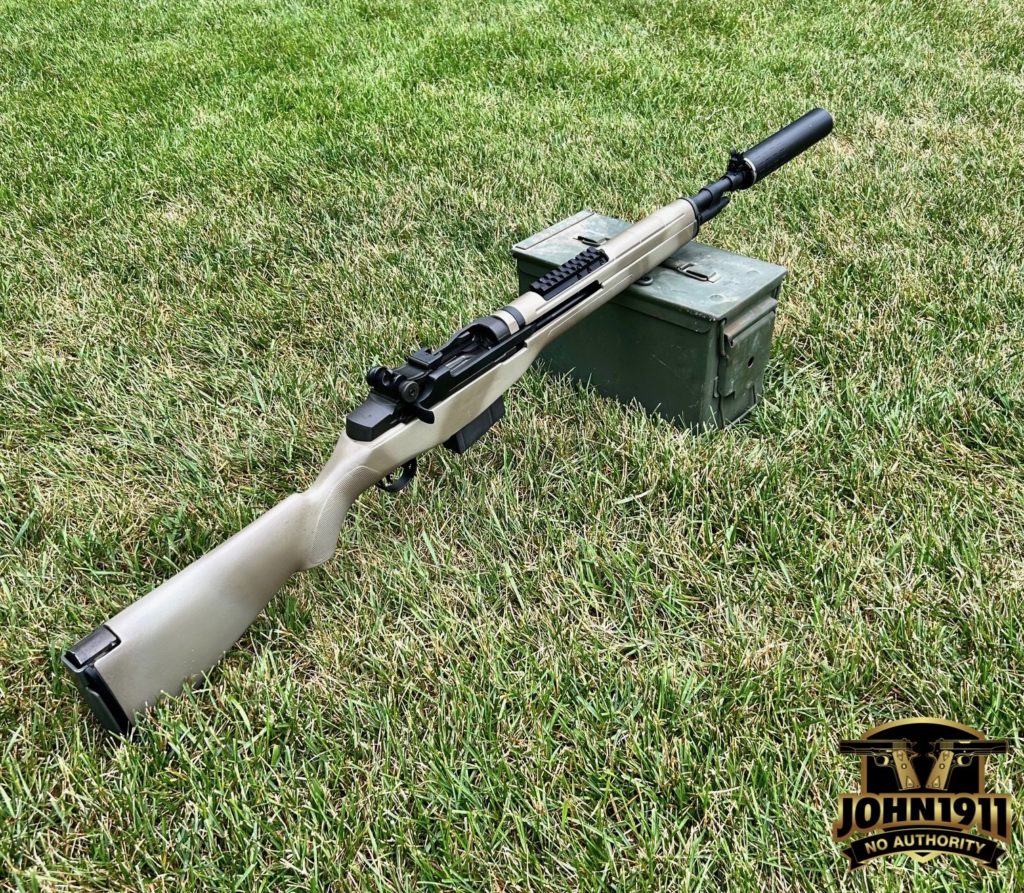
It came with a black synthetic stock from the factory. There’s nothing wrong with these stocks, but I’ve had a surplus fiberglass M14 stock laying around that felt better than the synthetic. The surplus stock was faded and worn so I decided to repaint it. I wasn’t going to match the original color, so I hit it with tan and brown Alumahyde from Brownells. The Alumahyde product has worked wonderfully on many of my products. It can be air dried, but I’ve had the best luck using a heat gun or oven curing the product if possible. The only problem with the Alumahyde is the nozzle which frequently clogs on used cans.
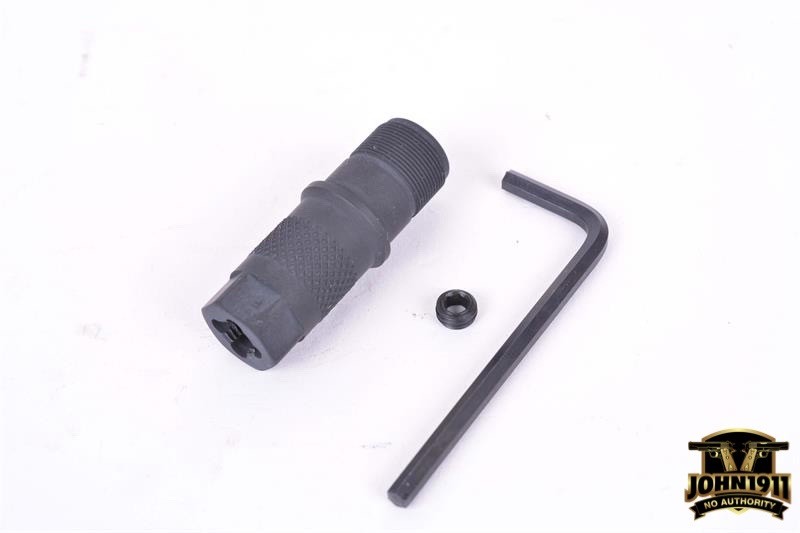
The next step was replacing the factory front sight base/muzzle device. These slide onto 3 splines on the muzzle of the rifle and are held on by a castle nut under the front sight mount. The front sight blade slides onto a dovetail on the entire assembly. I ordered a few base that sported 5⁄8-24 threads instead of a flash hider or muzzle brake. I swapped my front sight to the new base and torqued it on with the M1A castle nut pliers.
At this point I thought my rifle was suppressor ready, but after some research I learned that an adjustable gas plug is probably necessary. Without adjusting the gas system, a suppressed M1A will cycle violently, causing poor accuracy and eventually beating the rifle apart. Unfortunately, of the one or two adjustable gas plugs I found online, all of them were out of stock (At the time of this writing, Fulton Armory has them in stock now). Not wanting to wait for the plugs to come in stock or pay $80+ for the part, I decided to modify my factory gas plug to make it adjustable.
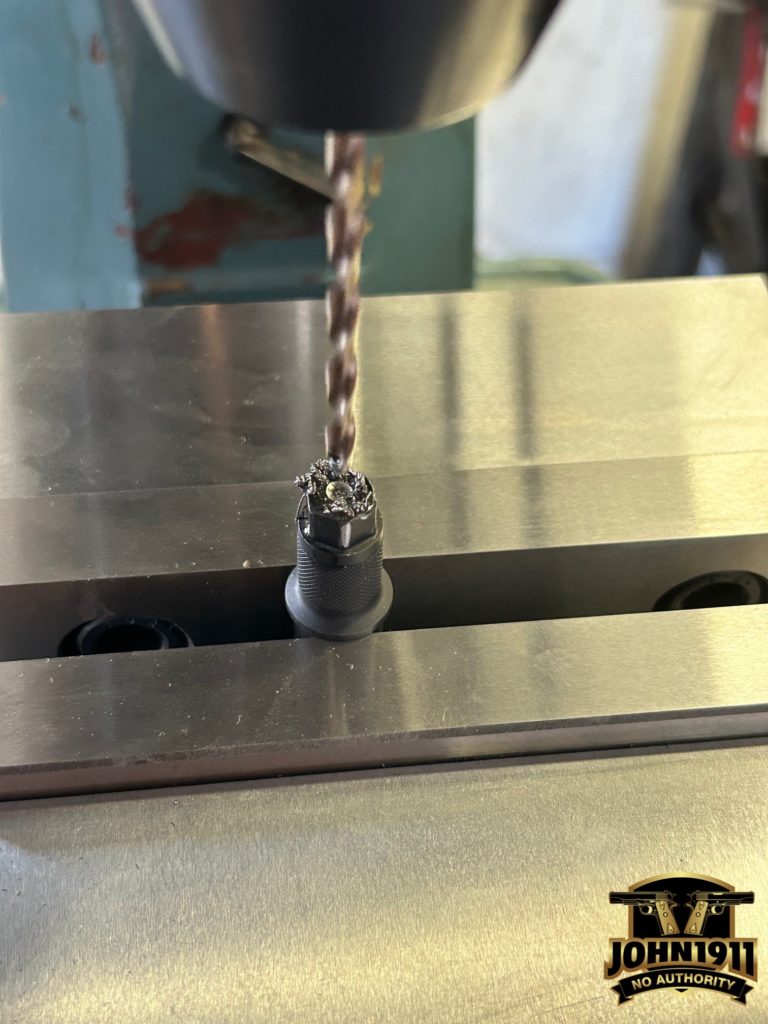
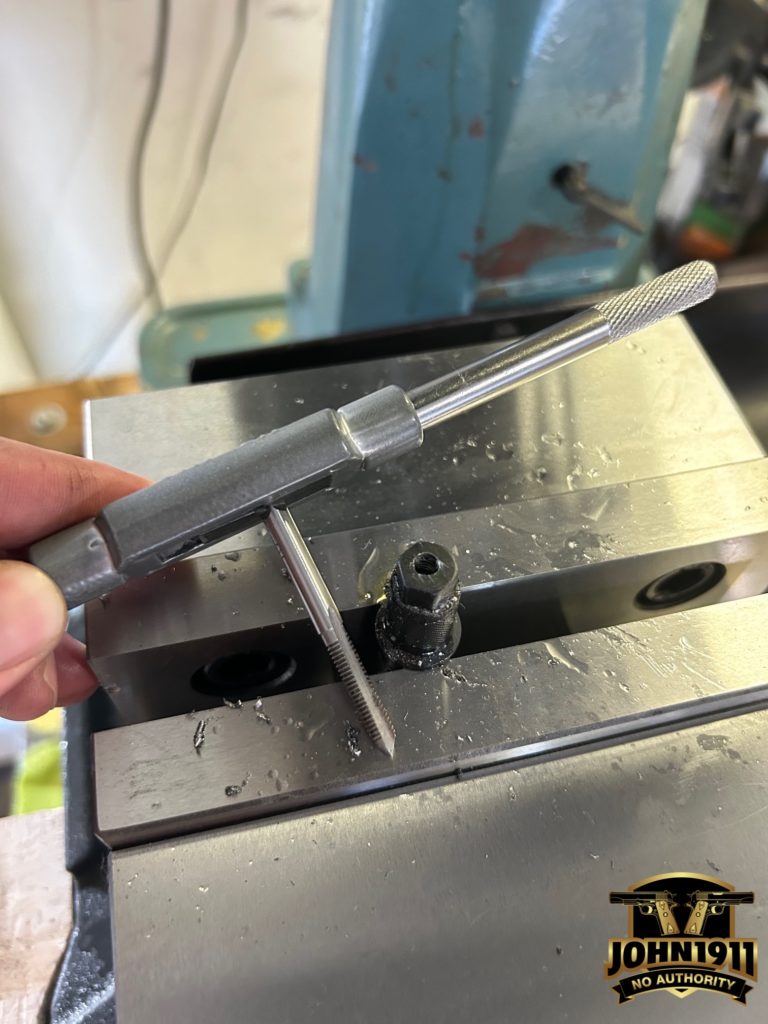
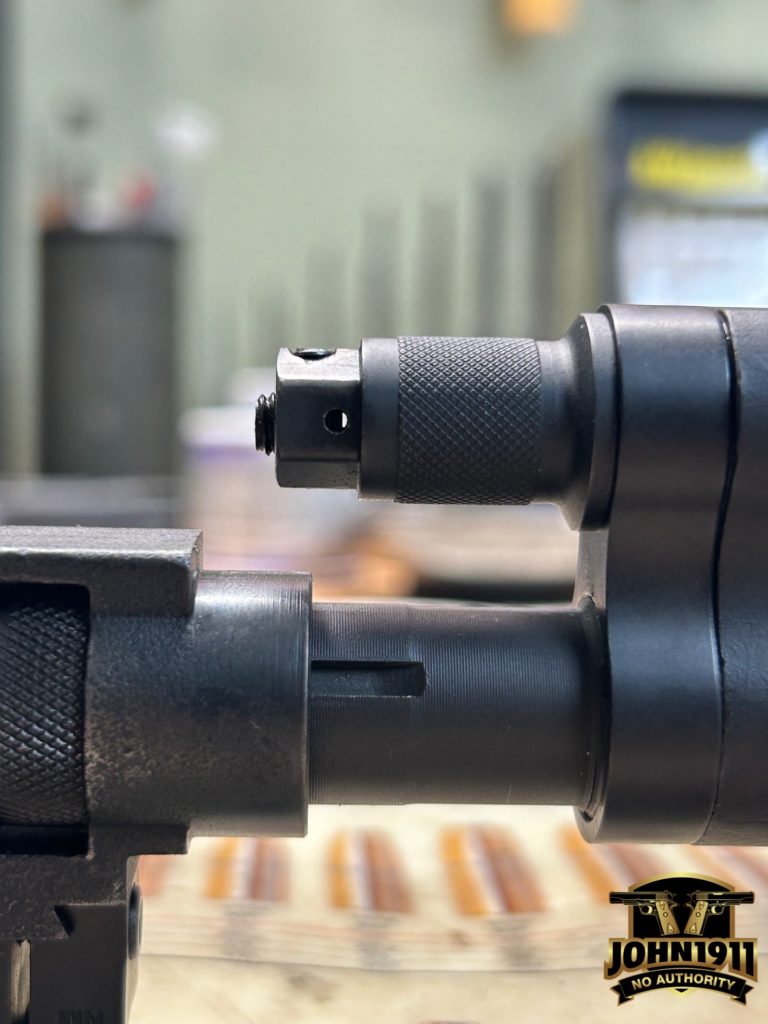
I started by drilling a longitudinal hole through the plug and tapping it for a 10-32 screw. This hole/screw goes down into the gas cylinder of the plug and serves as the regulator. I then drilled and tapped a 4-40 screw into the side of the plug which serves as a set screw so the regulating screw doesn’t back out when firing. Finally, I drilled a vent hole in each side of the plug perpendicular to the regulator screw. I settled on 0.067” vent holes based on gas port sizes for AR-10s, considering there are two holes instead of one, and taking a wild-ass guess.
At range, my DIY gas plug performed exactly as designed. With an old box of PPU 168gr match ammo, the rifle functioned well suppressed with the gas vent open. It ejected and fed a new round without signs of being overgassed. Without the suppressor and the vents still open, the rifle would eject fired brass but not pick up a new round.
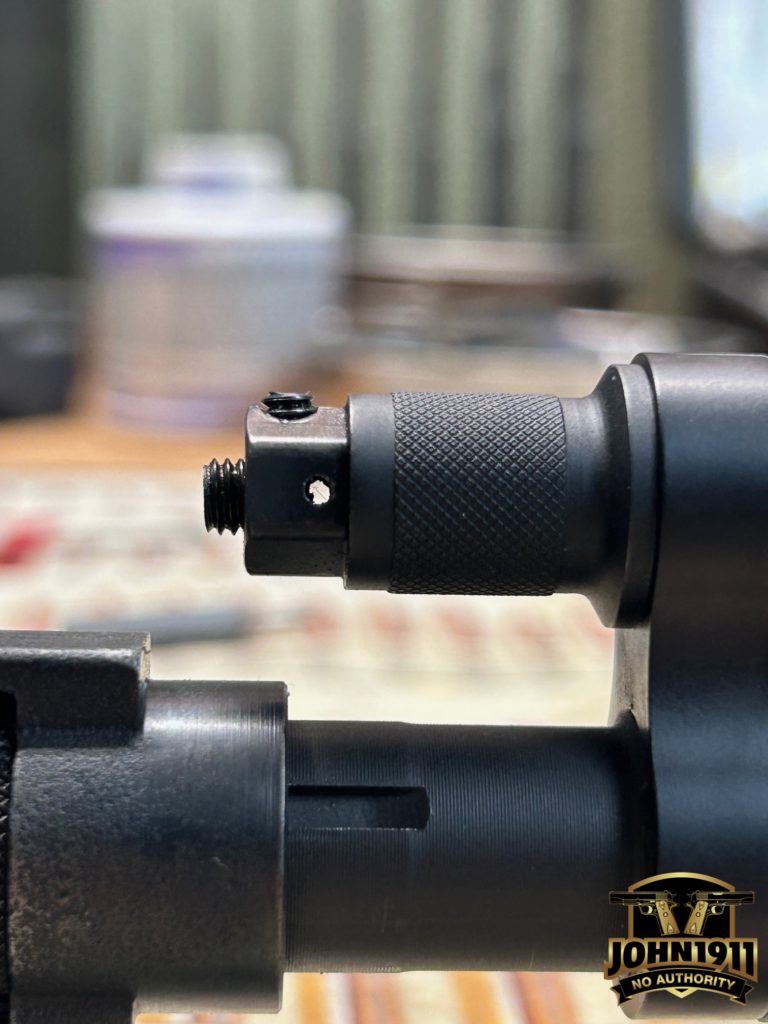
While this test tells me the modified plug is working exactly as I intended, I plan to drill the vent holes larger to allow for more range of adjustment. In the event I use a hotter load or change suppressors, I want to ensure I can adjust the gas settings up or down as necessary.
The last step to this project will be accuracy testing with the suppressor and modified plug. I plan to do some testing with/without the suppressor to gauge how that changes the rifle, ideally I’ll find a load that shoots either way.
Chris W.
www.John1911.com
“Shooting Guns & Having Fun”
- October 2025 Moose Hunt - December 21, 2025
- M1A Adjustable Spindle Valve - November 8, 2025
- Custom Taurus – “Not a Colt” - June 12, 2025


