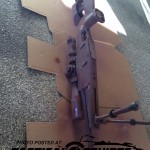
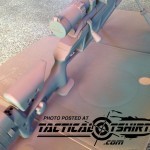
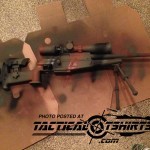
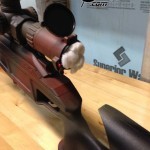
The Blaser project has been proceeding nicely. It’s a very nice rifle with lots of features but still doesn’t weigh a metric S-Ton. The only minor complaint I have against it is the color. In our part of the world (East of the Mississippi) black shapes stick out almost as bad as white. So we have known from day one that if the Blaser was going to stay, something would to have to be done.
After some discussion over a couple of weeks, it was decided that spray paint would be the best. At least for our purposes. One, we were not going to attempt to bead blast the “plasma nitride” off the metal parts. And scoring it didn’t seem wise. It appears to be VERY effective against rust and corrosion. Why risk compromising it? So once that decision was made, putting a large amount of money into professional job wasn’t practical.
We considered dipping in-house. Freeze has been playing with a dipping kit for a couple of months with some significant success. But that kit is more of a test package. We would have to buy an appropriate pattern (read more money) to get the results needed. And frankly, the Blaser Rifle presents a lot of shapes and angles that would be challenging at our current skill level.
Most of our hunting rifles and shotguns have been painted for years. Ditto on some of the modern tactical rifles as well. If there is any flaking or failure, it just does a better job of breaking up the shape. I understand that many of our readers will not understand this decision. Which is fine. Personally I am more of a user than a collector. I would encourage the reader to avoid one of the most common “traps” on gun-forums: Someone’s personal choice, is not a commentary or slight towards a different choice.
Here is how we handle this type of project. Been doing it so long, it’s almost turn-key by now.
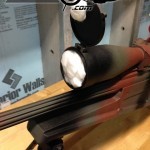
- Take clean white cotton balls and stuff them under the Butler Creek scope caps. Enough that you have to apply a little force to close the cap. More on this later.
2. Take acetone and a virgin-clean rag and degrease the entire rifle. Stock and metal and scope and caps.
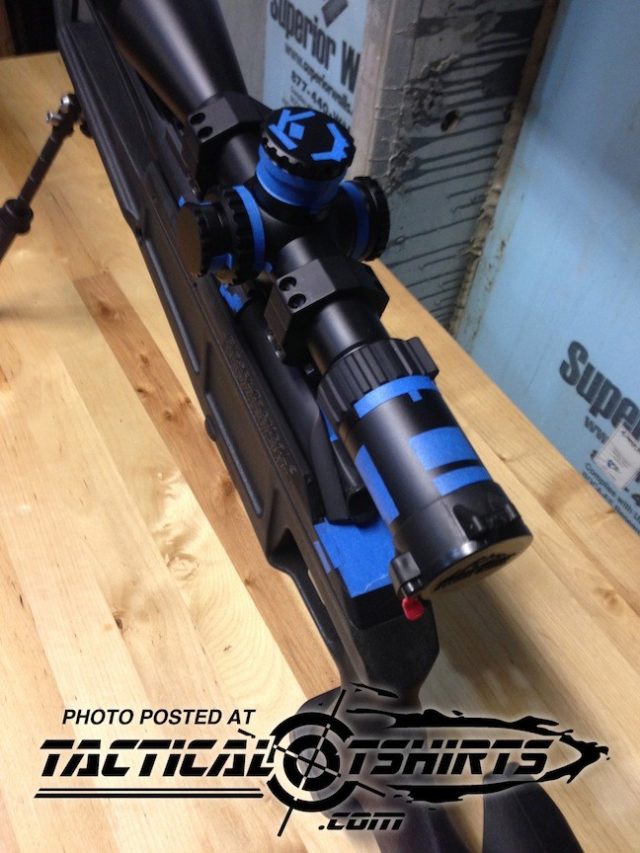
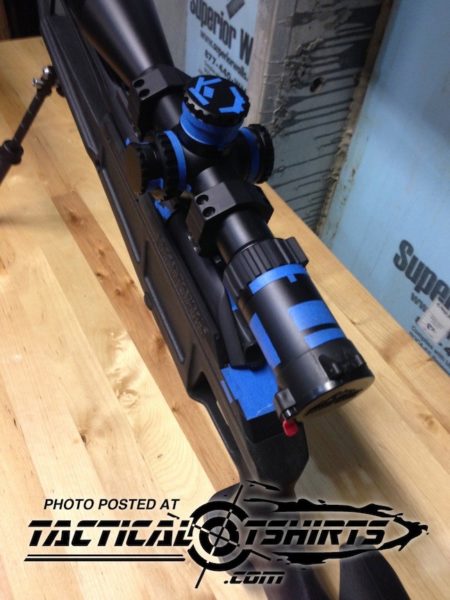
3. Tape up all your important control surfaces that you don’t wish covered. Generally scope knobs but I always tape the trigger face, serial numbers, proof marks, gas expansion holes, any threaded hole.
4. Spray automotive primer as a base. I prefer a “compatible” color to the project at hand. Example, I would not choose a white primer for this project.
5. Spray a base color coat. I prefer to start with the lightest color in my pattern.
6. Start applying your pattern.
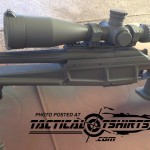
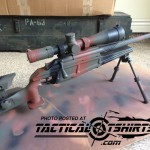
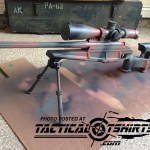
For this project, regardless of the price of the rifle, we wanted to keep it simple. If the goal is to break up the pattern and color that is. It was decided to just default to our old standby: large stripes. That way we don’t have to adhere to preconceived notion of a pattern. There is very little that can go wrong. Read that as less layers of paint. You can also read that as less total time invested.
Here is the final product after application of clear coat. Still drying.
No paint penetrated the scope covers on this project. But if it had, the cotton balls would have done a great job to ensure your quality glass isn’t fouled.
I am letting this rifle remain unused for 2 weeks to cure. But I could shoot it and probably not cause any marks or issues. The nice thing about home spray paint is I am not without the rifle or any length of time. This might be of concern if you have an unexpected call-out or slot open up at your local F/TR Match.
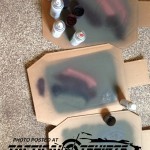
The paint used was Rust-oleum camouflage brand you can find at any local hardware store.
The primer is Rust-oleum automotive primer in a spray can.
The brown / red color on the final camoflague is also the Rust-oleum Automotive primer. It matches my environment batter than the camouflage brown. YMMV.
–Marky
www.tacticaltshirts.com
- 556 Sub-Gun – The Daewoo K1A1 - January 7, 2026
- FN Hi-Power Inert Trainer - January 3, 2026
- Jack Basham Custom Colt 1911 - January 1, 2026


